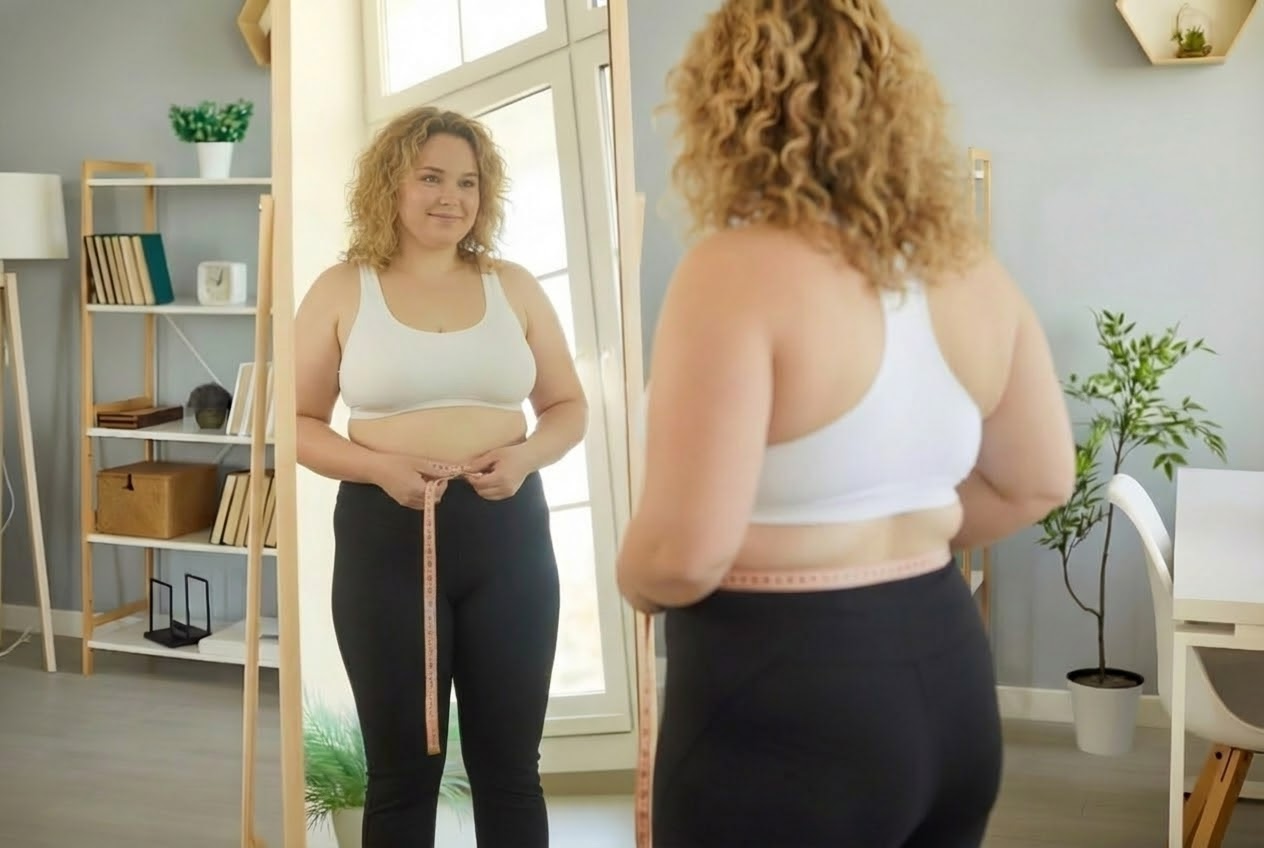
How to Take Measurements in Plus Size at Home: Accurate Measurements for Online Shopping
Reading time 0 min04.12.2025
In plus size, “my usual size” almost never works: different brands use different patterns, and comfort while moving and sitting depends on rise nuances. So the best insurance against bad online purchases is your own measurements, taken correctly.
Why measurements matter more than “my usual size” in plus size
In larger sizes, the same number on a tag can mean very different things: somewhere a size 54 fits loosely, somewhere it pinches, and somewhere “it’s fine standing,” but becomes uncomfortable while sitting. The reason is simple: brands build their patterns differently, and bodies have individual proportions (belly, hips, bust, back, rise height).
So the most reliable path is to know your measurements and be able to take them so they’re “workable,” not random.
What you need for accurate measurements
- a tape measure (soft, tailor’s tape)
- a mirror or camera/phone (to check the tape is level)
- thin underwear or a fitted top/tank
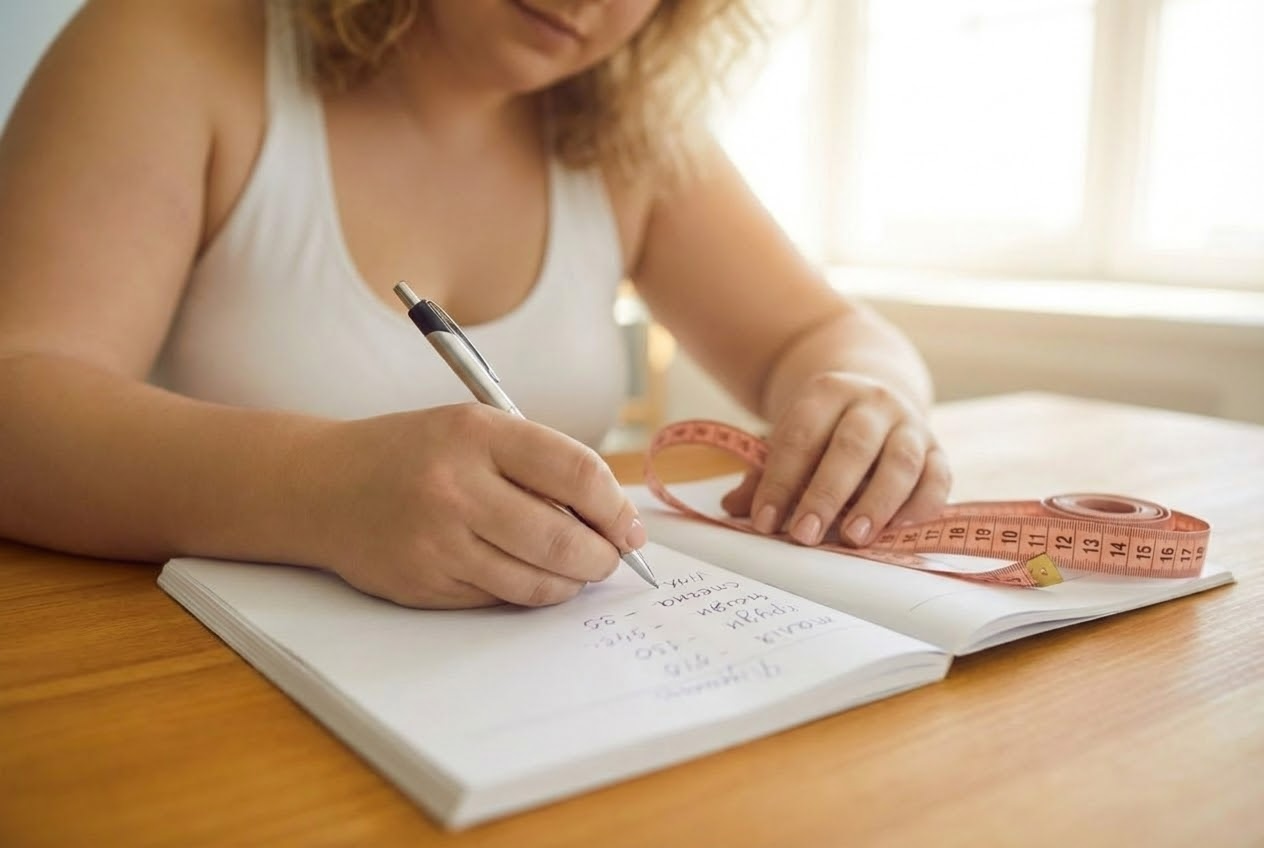
- paper/notes (better to save your measurements as a “profile”)
Rule #1: don’t suck in your stomach and don’t “stand up straighter than usual.” Measurements should match how you actually live, move, sit, and breathe.
7 rules for accurate measurements (so they don’t ruin your purchase)
- The tape should lie parallel to the floor (especially at the waist and hips).
- Don’t pull it tight: the tape should touch the body but not dig in.
- Measure while breathing out calmly, without “holding your breath.”
- Stand straight, feet together or 5–10 cm apart, no “model” pose.
- If measuring yourself, check in a mirror so the tape doesn’t “tilt.”
- Take each measurement twice. If the difference is more than 1 cm — measure again.
- Write down not just the number, but the date too: the body changes, and that’s normal.
Basic measurements for plus size clothing (essential)
Bust circumference
The tape runs over the highest point of the bust and across the back at shoulder blade level.
Important: don’t “lower” the tape at the back and don’t raise it above the bust — this is a common source of error.
Common mistake: measuring too high (across the upper bust) — resulting in ordering a top that’s too small.
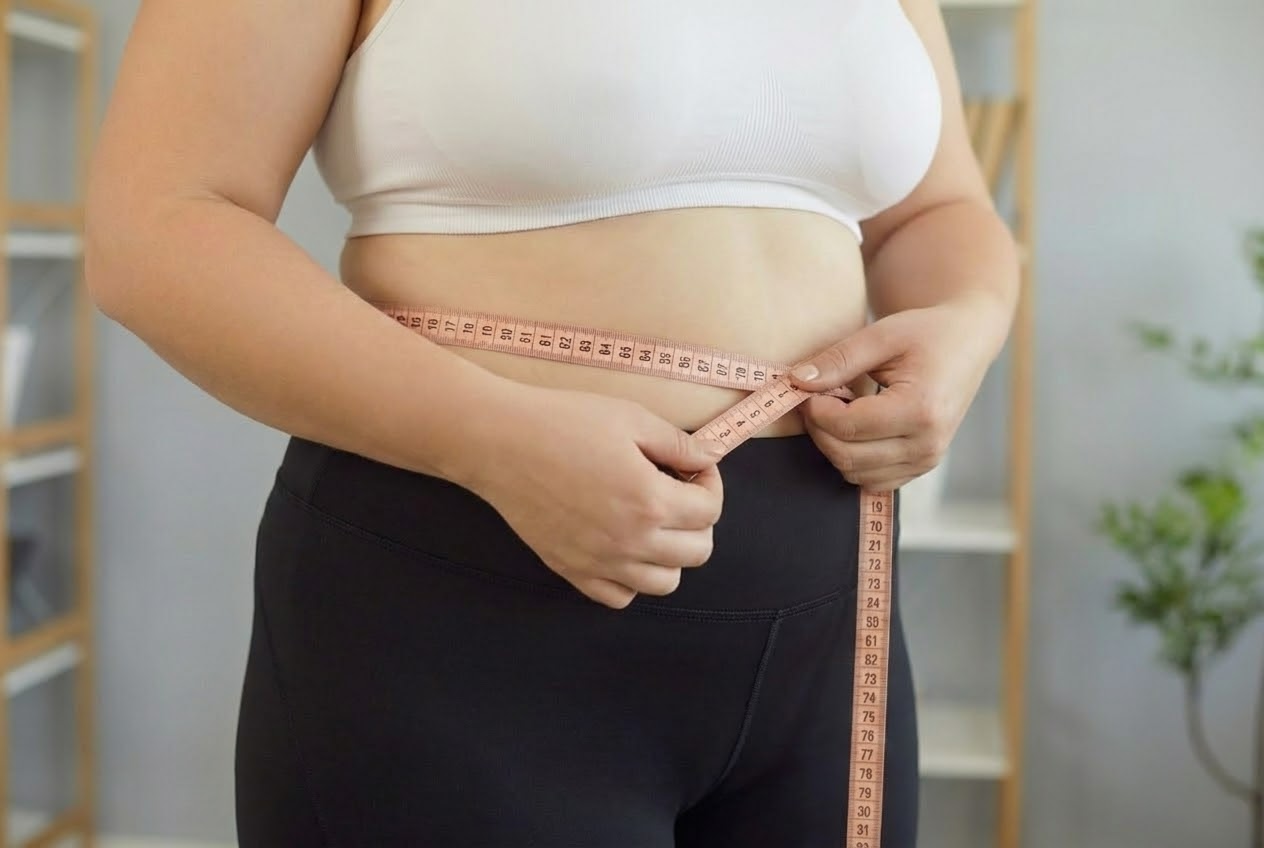
Waist circumference
The waist isn’t always where “the waist is supposed to be.” In plus size, the waist is either:
- the narrowest area, or
- the place where the body is comfortable wearing a waistband (often slightly above/below the “classic” position).
Life hack: tie a thin cord around your waist — it naturally settles at the right point. Measure along it.
Common mistake: measuring the waist “as shown in a picture,” and then the waistband on pants pinches in real life.
Hip circumference
The tape runs over the widest part of the hips and seat.
For many plus size bodies, the widest point isn’t “at the hip bones,” but lower, so it’s important to find the actual maximum.
Common mistake: the tape rides up above the widest point — and the item arrives tight at the hips.
Extra measurements that “save” you when buying plus size pants
If you’re buying pants, joggers, palazzo, or pencil skirts — these measurements are often missing, but they’re exactly what eliminates 80% of mistakes.
Rise height / seated rise (for comfort at the crotch and while sitting)
Sit on a chair upright. Measure from the waist (along your natural waistband line) to the chair surface at the side.
This gives you an idea of whether there’s enough rise depth so it doesn’t pull at the crotch or dig in at the waistband while you sit.
Inseam length
Measured from the crotch (crotch seam) to the desired length along the inner side of the leg.
This is the best measurement to avoid getting pants that are “too short” or “dragging on the floor.”
Thigh circumference (upper leg)
Measure the widest part of the thigh (usually 5–10 cm below the crotch).
This is critical if you often run into pants that are “supposedly my size” but pinch along the leg.
Knee and calf circumference (if needed)
Needed if you’re choosing tapered models or don’t like it when the leg opening “clings.”
Measurements for tops (if you’re planning long sleeves/sweaters/shirts/blazers)
Under-bust circumference
Useful if the bust is larger and the top often “sits oddly.”
Upper arm circumference (bicep)
One of the most common reasons sleeves pinch in plus size — so it’s best to measure the bicep right away.
Sleeve length
From the shoulder point to the wrist (with the arm slightly bent).
Measurement chart (copy this into your notes)
| Measurement | How to measure | What it's for |
|---|---|---|
| Bust | over the highest point of the bust | tops, dresses, blazers |
| Waist | along the natural waistband line | pants/skirts, dresses |
| Hips | over the widest point of the hips | pants/skirts/dresses |
| Rise height | seated: waist → chair | pants comfort while sitting |
| Inseam | crotch → hem along the inner leg | pants length |
| Thigh circumference | widest point of the leg | ease in the leg |
| Bicep circumference | widest point of the upper arm | sleeves |
The most common mistakes (and how to avoid them)
The tape “wanders” and measurements come out smaller
If the tape rides up at the back or slides down off the hips, the measurement is understated, and you risk ordering a smaller size.
Measuring “for beauty”
Sucked in your stomach, lifted your chest, posed like in a photo — and then the item arrives and pinches. Measurements should be about real life, not a pose.
Relying on just one parameter
For example, choosing pants by waist alone, ignoring hips or rise height — and ending up with crotch pressure, sliding down, or discomfort while sitting.
How to choose a size online from measurements (without guessing)
Always compare body measurements with garment measurements, if available
Brands sometimes give a “body” chart and sometimes a “garment” chart. These are different numbers.
- If it's body measurements — you're looking for a match by bust/waist/hips.
- If it's garment measurements — you need ease for room (added allowance).
Pay attention to stretch
If the fabric stretches or the waistband is elastic, the fit range is wider. If the fabric doesn’t stretch, it’s better to allow more ease, especially for pants.
If you’re “between two sizes”
- for pants, go by the hips and comfort while sitting more often
- for tops, go by the bust and bicep, so the sleeves don’t pinch
Save your measurements as a “profile” in your notes and update them from time to time — it really saves money, time, and nerves. And if you're choosing a top for your measurements, what often matters isn’t just the bust but also the bicep and shoulder ease — that’s exactly why it's worth paying attention to the fit of items from the sweaters and cardigans category.
How to tell you need a higher pants rise?
If it pulls at the crotch, the waistband digs in while sitting, or pants slide down in back — it's often about rise height (front/back rise) and rise depth.
How to measure the waist if it's not clearly defined?
Find a comfortable waistband line (where you actually wear your pants). A thin cord helps — it naturally settles at the right point.
Which measurements matter most for plus size pants?
Waist, hips, rise height (fit), inseam length, and thigh circumference.
Why doesn't my “usual size” work in online stores?
Because brand size charts differ, and fit and construction (waistband, rise depth) strongly affect comfort in plus size.
How to correctly take measurements in plus size to avoid sizing mistakes?
Stay relaxed, don't suck in your stomach, keep the tape parallel to the floor. Be sure to measure: bust, waist, hips + for pants, rise height and inseam.